How To Make A Generator In 3 Simple Steps? –
In this article, we will tell you how to make a generator using DIY techniques. You can easily make it yourself, you don’t have to be tech-savvy to do so.
Making a generator is simply easier without any doubt. Even an average handyman can think of making a generator. If someone is an ambitious hobbyist, a perfectly functioning generator can be made by him with the help of just common metals and a few magnets.
The easiest and the best way to make a generator is to salvage or re-purpose an electric motor or alternator (Check out our guide about alternator vs. generator) from any home appliance or junk car.
Relying on salvage electric motors can help create enough amount of energy from a renewable resource to contribute to or even fully cover the electricity needs of your entire home.
A generator is simply capable of yielding power by utilizing it as a source of rotary motion from a windmill or even a geothermal piston. It depends on your location and needs.
However, electric generators are the best devices that use alternating magnetic fields to build current through a wire circuit.
As full-scale models can be very complex and expensive to create, a simple electric generator can be built easily.
How To Make A Generator – Electric
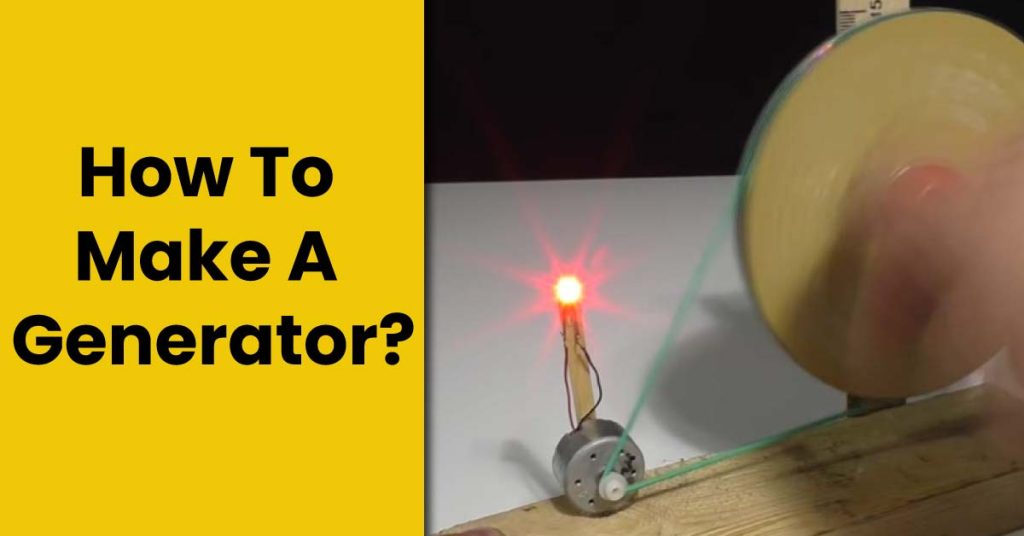
In this article, we will share all the necessary steps involved in the process of how to make a generator or how you can make a simple electric generator.
Things You’ll Need
There are the following things you will need while making a generator:
- Screwdriver set
- Wire cutters
- Wrench set
- Multimeter
- Workbench
- Two Vise-Grips
1. Building the Frame:
Cut The Cardboard:
The cardboard will act as a frame and play role in supporting your simple generator. To measure the cardboard strip, you can use a ruler that should be between 8 cm to 30.4 cm.
Then you need to cut the strip out by using scissors or a utility knife. That single piece will be folded to build a frame.
Mark The Cardboard:
By using a ruler, measure the length of the cardboard. The first mark should be 8 cm while the second mark should be 11.5 cm. The third mark should be 19.5 cm and the final mark must be 22.7 cm.
The following segments will be created by using this method:
- 8 cm, 3.5 cm
- 8 cm, 3.2 cm
- 7.7 cm.
You don’t need to cut these segments.
Fold The Cardboard:
At this step, fold the cardboard along the sides of each mark. It will create a flat piece of cardboard into a rectangular frame. That frame will in-house the components of your electric motor.
Slide The Metal Shaft:
To slide a metal shaft through the support frame, you will need to push a nail through the center of the cardboard frame.
Make sure that you are going through all three pieces of cardboard that are creased into the center. In this way, a hole will be created in the shaft where you can insert a metal shaft easily or you can even use a nail in place of your shaft.
It doesn’t matter what kind of metal shaft you are using. Any piece of metal that can fit into the hole and pass through the other side of the frame is adequate.
2. Creating The Circuit:
Wind The Copper Wire:
Use enamel-coated copper wire to make several turns around the cardboard box. Wind almost 200 ft. of wire as tight as you can.
Leave almost 16-18 inches of wire loosely on each end to connect it to your meter, bulb, or any other electronic device.
The more turns or winds you will make near the cardboard frame, the more power will be produced by your generator.
Strip The Ends Of The Wire:
Take a wire stripper or a knife to remove the insulation from each end of the wire. Remove at least 2.54 cm of insulation from each side. It will help you to connect the wire to an electronic appliance.
Connect The Wires To An Electronic Device:
Attach the loose ends of two wires of the windings to a red LED, miniature bulb, or a 1.5V grain of wheat lamp.
Then connect the test leads from the AC voltmeter or multimeter to them.
Always keep in mind that you are trying to produce a very low voltage, and the larger appliances won’t be able to be powered by this generator.
3. Setting The Magnets:
Glue The Magnets To The Shaft:
Use epoxy or a high-strength hot melt glue to bind four ceramic magnets to the shaft.
You want to keep the magnet stationary with its shaft. The magnet should be glued on the shaft even after the shaft has been inserted into its frame.
Give several minutes to dry up the glue.
Turn The Shaft With Your Fingers:
This step will allow you to examine if the ends of magnets are hitting inside the frame. It is preferred that magnets must always turn in a freeway but should be as close as possible to the walls of the frame.
Closing the ends of magnets to the copper wire windings will ultimately increase the exciting action of the magnetic fields produced by the magnets.
Spin The Shaft As Fast As Possible:
You may also want to wind a string that should surround the ends of the shaft. To do this, pull it in such a way as to turn the magnets.
You can also spin it with the help of your fingers. When the shift will be turned, a small voltage will be produced sufficient enough to light a 1.5V bulb.
The power output can be improved by putting the pinwheel on the ends of the shaft and then connecting it to an electric fan to run the wheel.
But it is important to know that this will be only good to explain the operation of your generator as there’ll be more electricity needed to turn it on instead of creating.
Precautionary Measures:
- Always wear goggles all time when you are going to cut metal.
- Ask for help from a professional electrician to attach the generator to the power grid of your home to make sure building and safety codes are being met.
- There is a possibility that lethal levels of energy can be produced even with improvised generators. Get a review by an electrician and then make adjustments for work by keeping safety in check.
- Take all necessary precautionary measures while working with high voltages including non-conducting tools, boots, and gloves.

Josh is a highly skilled electrician with specialized expertise in the field of generators. With years of experience under his belt, he has established himself as an expert in all aspects of generators, ranging from installation and maintenance to troubleshooting and repairs. Josh’s in-depth knowledge of electrical systems and his commitment to staying updated with the latest industry advancements make him a reliable and sought-after professional.

